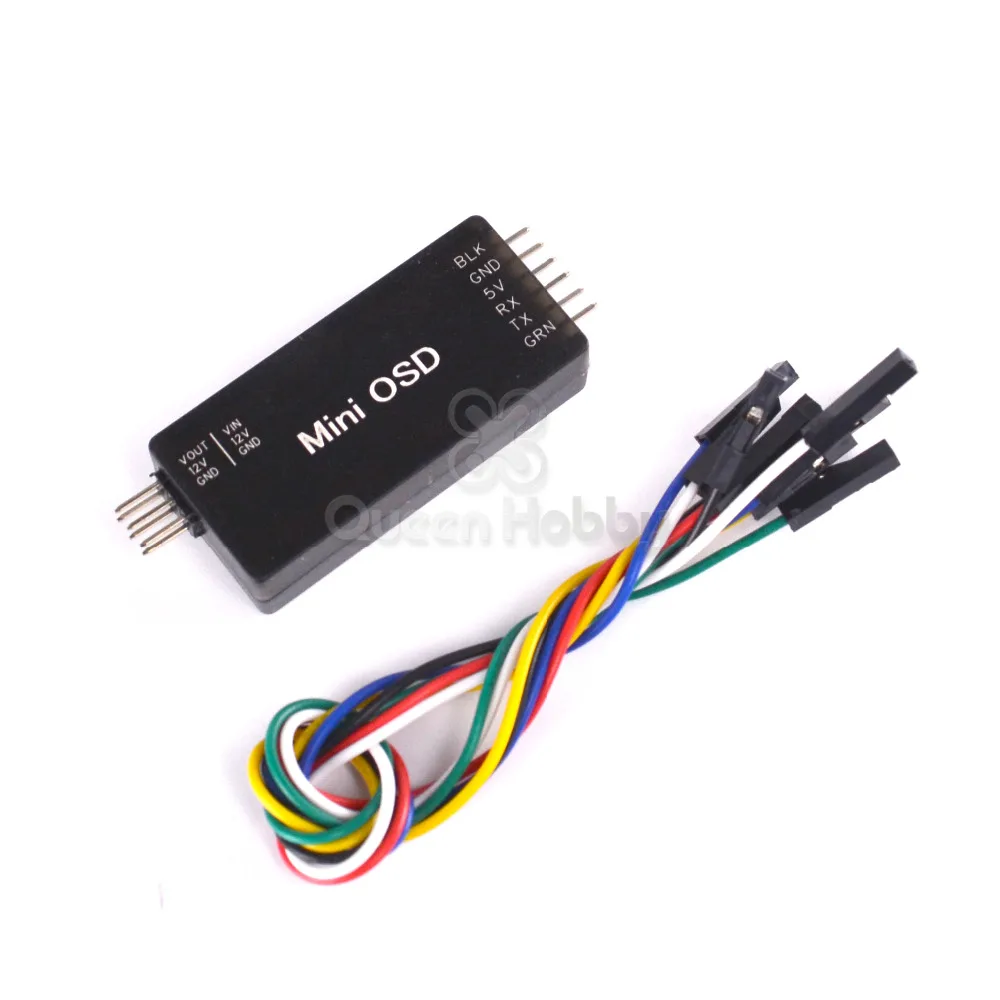
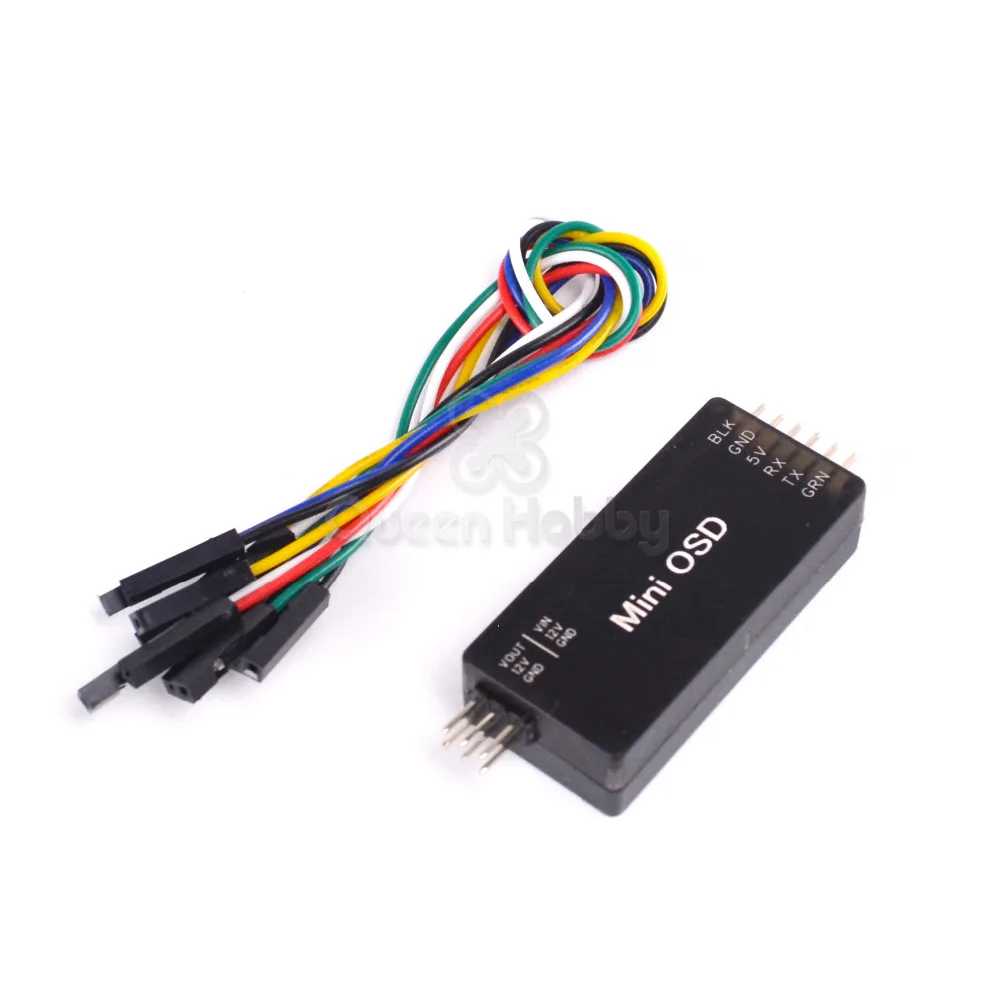
MinimOSD Mini OSD Board On Screen Display Video Record for Mavlink Support APM 2.5 2.6 2.8 RC Flight Controller FPV Spare Part
Drone Spark
Regular price
$94.99
$220.99
MinimOSD Rev. 1.1 OSD
Description:
On-Screen Display Ardupilot Mega MinimOSD Rev. 1.1 OSD diy drones APM2 APM2.5 APM2.6
APM has an companion OSD board called MinimOSD. It reads all the MAVLink data in the APM telemetry stream and overlays it on the video stream if you're using an on-board camera and wireless video transmitter. This is useful if you're flying in First Person View (FPV) mode or don't want to use a laptop at the field to see your telemetry data in the Mission Planner.
Instructions on connecting and using the MinimOSD board via the APM telemetry port are here. Connection photos with APM 1 and APM 2 are below.
Important note: You cannot connect use the OSD when your APM 2. is also connected via USB (they share the same port). Make sure you disconnect your USB cable from the APM 2 board before attempting to use the OSD.
100% Brand New !!!
Important note: You cannot connect use the OSD when your APM 2 is also connected via USB (they share the same port). Make sure you disconnect your USB cable from the APM 2 board before attempting to use the OSD.
100% Brand New !!!


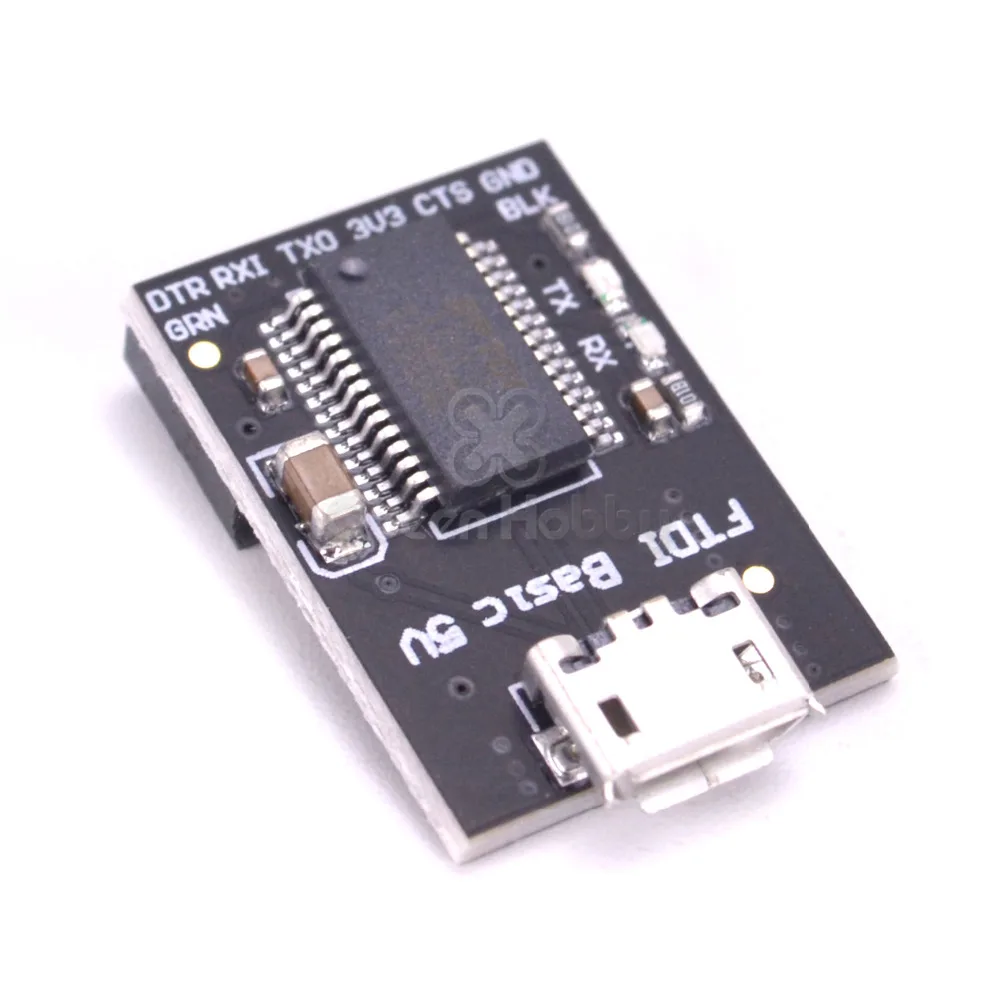
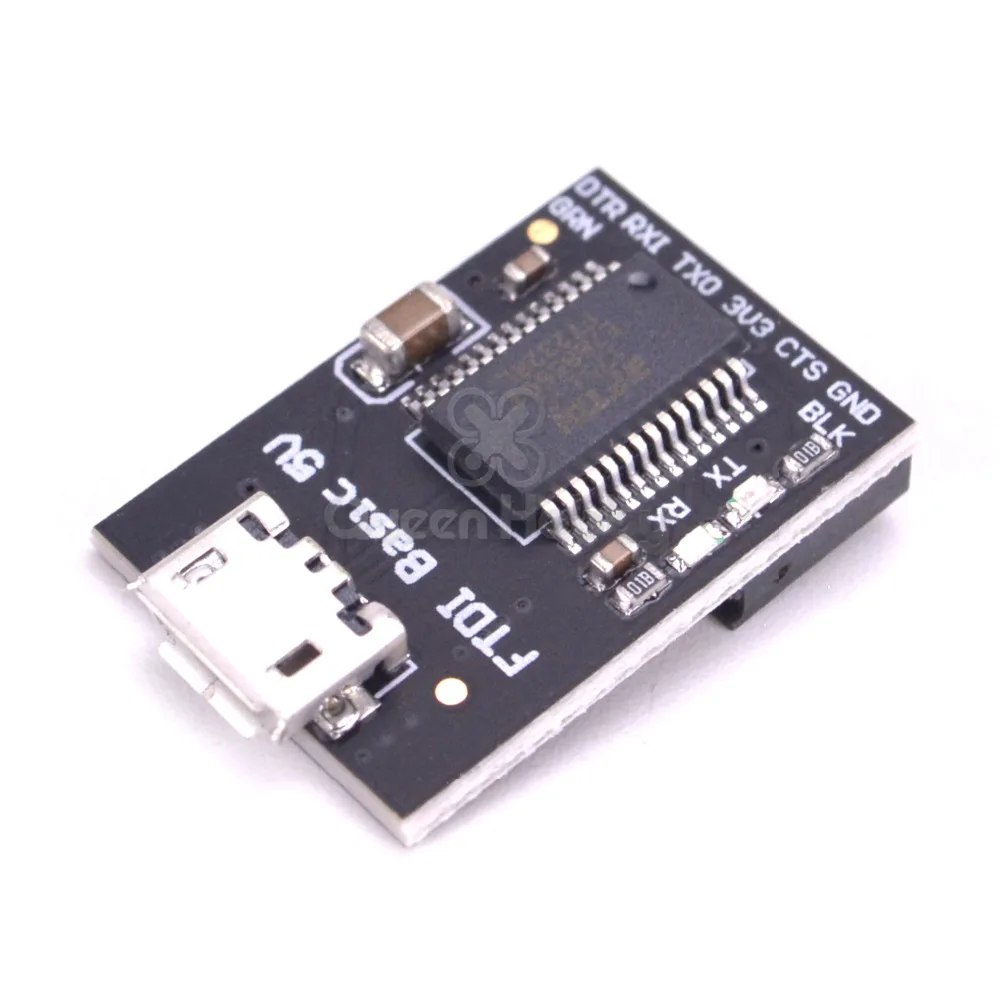
FTDI 5V USB To TTL MWC Universal Programmer
Debuger For Arduino FIO/pro/mini/NWC OSD MINIOSD F3
This is the newest revision of FTDI Basic. We now use a SMD 6-pin header on the bottom, which makes it smaller and more compact. Functionality has remained the same.
The pins labeled BLK and GRN correspond to the colored wires on the FTDI cable. The black wire on the FTDI cable is GND, green is DTR. Use these BLK and GRN pins to align the FTDI basic board with your Arduino target.
There are pros and cons to the FTDI Cable vs the FTDI Basic. This board has TX and RX LEDs that allow you to actually see serial traffic on the LEDs to verify if the board is working, but this board requires a Mini-B cable. The FTDI Cable is well protected against the elements, but is large and cannot be embedded into a project as easily. The FTDI Basic uses DTR to cause a hardware reset where the FTDI cable uses the RTS signal.
This board was designed to decrease the cost of Arduino development and increase ease of use (the auto-reset feature rocks!). Our Arduino Pro and LilyPad boards use this type of connector
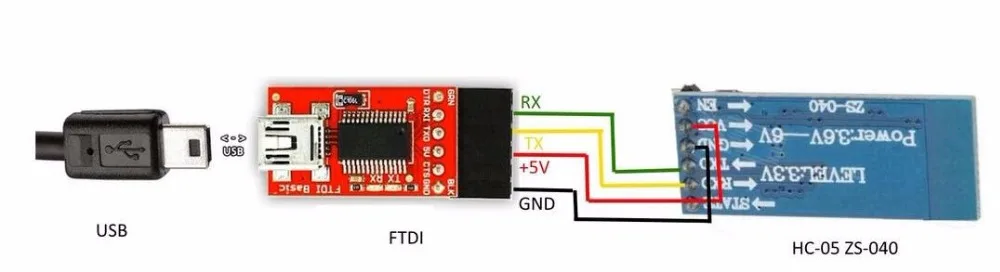
Connection: 5V-5V gnd-gnd TX-RX RX-TX